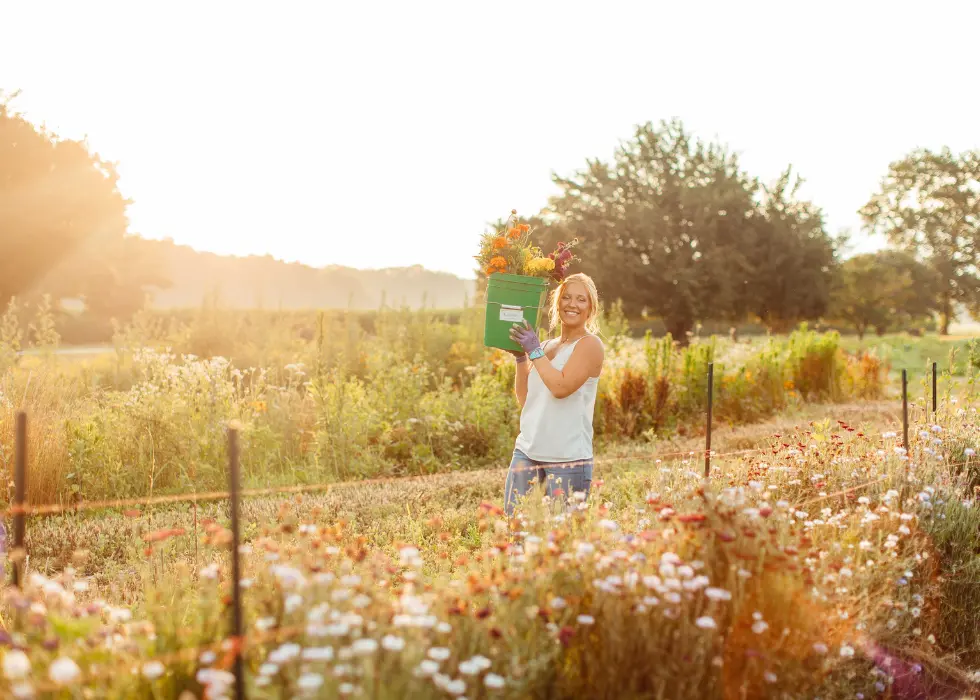
There is nothing quite like the satisfaction of looking at a tray of seedlings and knowing, “We grew that.” Whether it is a small six-pack of flowers for patio pots or hundreds of seedlings destined for the field, starting cut flowers from seed is one of the most rewarding parts of growing.
If you are ready to begin growing your own cut flowers from seed, there are a few important things to think through before that first seed ever hits the tray. Where will you grow them? How will you water them? What kind of trays should you use? And when are those little plants actually ready to go outside?
Let’s walk through the basics of starting cut flowers from seed so you can give your seedlings the strongest possible start.
Choose the Right Space for Starting Seeds
The first thing to consider is where you will start your flower seeds.
If you have access to a greenhouse, that is often the easiest option. A greenhouse gives you a dedicated space with light, protection, and usually easy access to water. But you absolutely do not need a greenhouse to grow beautiful cut flowers from seed.
There are several ways to create a seed-starting setup at home.
Starting Seeds Indoors With Grow Lights
A basement, spare room, or utility area can work well if you want more control over the growing environment. Many growers use shelves and grow lights to start flowers indoors.
The key with grow lights is placement. If the lights are too far away from the seedlings, the plants may stretch and become weak. If the lights are too close, they can burn the plants. It takes a little practice, but indoor seed starting can be a great option if you want to manage light, temperature, and watering closely.
Starting Seeds Outdoors in a Protected Area
You can also start seeds outside in a protected area. A few shelves, seed trays, and humidity domes can be enough to get started. The domes help protect seedlings from unexpected rain and changing conditions.
This method may not sound ideal, but sometimes unconventional setups work surprisingly well. We have had some of our best germination rates for cool flowers on shelves outside under a tree when the greenhouse was simply too hot.
The lesson? Do not be afraid to think creatively about your seed-starting space.
Starting Seeds in a Window
If you want to start small, a sunny window can work too. You might use a small shelf, a zipper-style mini greenhouse, or a simple setup near the glass.
Just remember to protect the floor or surface underneath. Seedlings, trays, and humidity domes can create drips and moisture, so a waterproof mat or tray underneath is helpful.
Make Sure You Have Easy Access to Water
Watering is one of the most important parts of starting cut flowers from seed.
If you are growing in a greenhouse, water access is usually already built in. If you are growing indoors or near a window, a spray bottle may be enough in the beginning to keep the top of the soil lightly moist.
Many flower seeds do not like to be disturbed while they are germinating. A heavy pour from a watering can can move seeds around too much in the soil. Bottom trays are especially helpful because they allow seedlings to take up water from below without washing seeds out of place.
The goal is consistent moisture, not flooding.
Choose the Best Seed Trays for Cut Flowers
When starting flower seeds, tray size matters.
There are many seed tray options available, and the best choice may depend on your growing space, transplanting method, and the number of plants you plan to grow.
On our farm, we find that 128-cell trays work best for us. Smaller cells can be too tiny for seedlings that need to survive well in the field. Larger trays can create root blocks that are harder to manage, especially when planting into pre-burned holes in landscape fabric.
The 128-cell size fits well in the hand, holds water nicely, transplants easily, and gives seedlings enough space to develop a sturdy root system.
Our best advice is to experiment. Try a few tray sizes and see what works best for your flowers, your space, and your planting style.
Should You Use Soil Blocking?
Some growers love soil blocking for starting flower seeds.
Soil blocking uses a specialized tool called a soil blocker to compress nutrient-rich soil into small blocks. Seeds are planted directly into these blocks, and the seedlings can later be transplanted into the ground.
One benefit of soil blocking is “air pruning.” Since the roots reach the edge of the block and are exposed to air, they are less likely to circle around and become root bound. Soil blocking also reduces or eliminates the need for plastic trays.
We do not use soil blocking on our farm because of the sheer volume we grow, but it can be a great method for many growers. As with tray size, it is worth experimenting to see whether it works well for you.
Always Read the Seed Packet Instructions
This may sound simple, but it is one of the most important seed-starting tips: read the instructions.
Each flower seed has its own germination needs. Some seeds need light to germinate and should be planted on top of the soil. Some need to be gently pressed into the surface. Others prefer to be covered more deeply.
These small details can make a huge difference in germination rates.
When you understand what each variety needs, you can give your seeds the best chance to sprout and grow into healthy seedlings.
Direct Seeding Cut Flowers
Some cut flowers can be planted directly into the ground, also called direct seeding. However, not every seed is a good fit for this method.
Seeds that need to be planted on top of the soil are usually not ideal for direct seeding. They may disappear before they ever germinate, especially if birds or other critters find them first.
If you plan to direct seed flowers, prepare a lightly worked seed bed and cover the seeds according to the packet instructions. If birds are a problem, you may want to cover the area with agribon, a lightweight fabric that helps protect the seeds.
We have had to cover sunflowers this way because birds were more than happy to help themselves.
Pay Attention to Germination Temperatures
There is no single perfect temperature for all flower seeds. Different varieties have different needs.
Some seeds benefit from a heat mat. Others prefer cooler conditions. This is one reason it is helpful to start with easier varieties when you are new to growing cut flowers from seed.
Cool season flowers often need cool nights and warmer daytime temperatures to germinate well. If the conditions are too hot, they may sit dormant. Warm season flowers prefer warmer daytime and nighttime temperatures.
Perennials can be different again, with many benefiting from cooler temperatures during germination.
If you are growing multiple types of flowers together, especially in a greenhouse, it can get tricky. Pay attention to warmer and cooler spots in your growing area. Those microclimates can help you place certain trays where they will perform best.
Harden Off Seedlings Before Planting Outside
Once your seeds have germinated and your seedlings look ready to plant, pause for one important step: hardening off.
Hardening off is the process of gradually introducing seedlings to outdoor conditions before transplanting them into the garden or field.
Seedlings grown in a greenhouse, basement, or window have been protected from wind, strong sun, and changing temperatures. If they go straight outside without adjustment, they can become stressed or shocked.
A simple hardening-off schedule might look like this:
Day one: Place seedlings outside for one to two hours, preferably in the morning if the weather is warm.
Day two: Leave them outside for about half a day.
Day three: Let them spend the full day outside.
Use your judgment based on the season and weather. If it is cold, windy, or very hot, adjust the timing.
If space is limited, you can also place seedlings under agribon to give them some protection while they adjust.
Strengthen Seedlings With This Simple Trick
Here is one of our favorite old-fashioned seedling tips: gently brush your hand over the seedlings each day while they are still small.
It may sound silly, but it helps encourage stronger stem growth. That gentle movement mimics some of the touch and resistance seedlings will experience from wind, insects, and the outside world.
We like to think of it as giving the seedlings a little high five for growing well.
Ready to Grow More Flowers for Cutting?
Once your seedlings are started, the next step is choosing flowers that will keep blooming beautifully all season long.
Our Top Cutting Flowers Guide is designed to help you grow a garden that blooms beautifully — and keeps on giving. This printable guide walks you through some of the best flowers to grow for cutting, arranging, and enjoying indoors, whether you are planting your first flower bed or expanding an existing cutting garden.
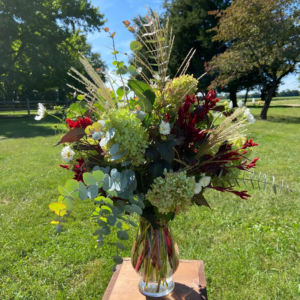
Inside, you’ll learn which flowers are best for bouquets, which varieties are beginner-friendly, how to choose between annuals and perennials, and which flowers will continue blooming after you cut them.
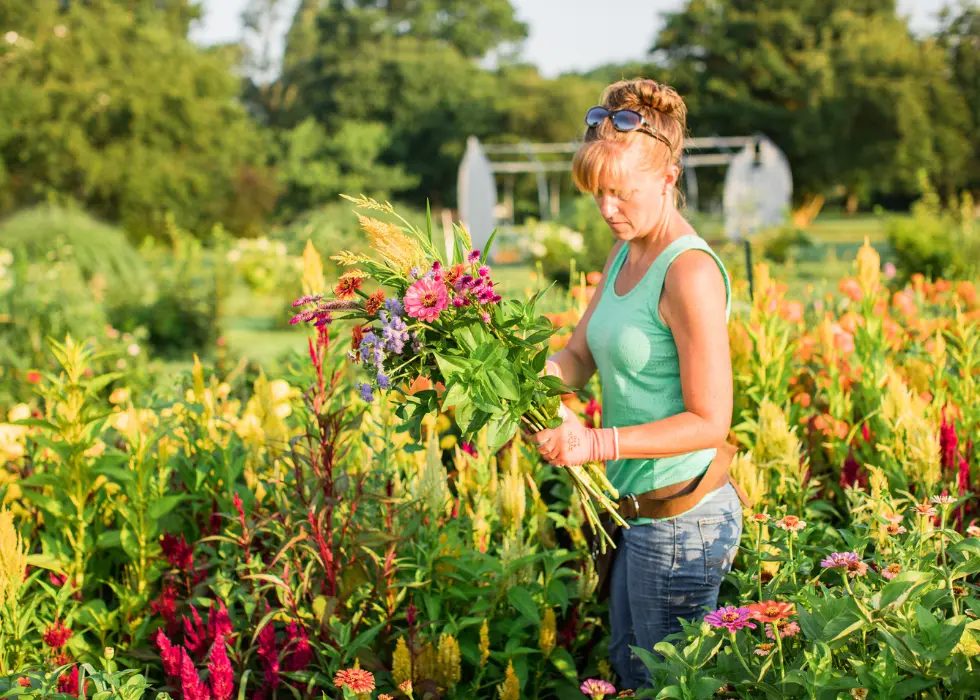
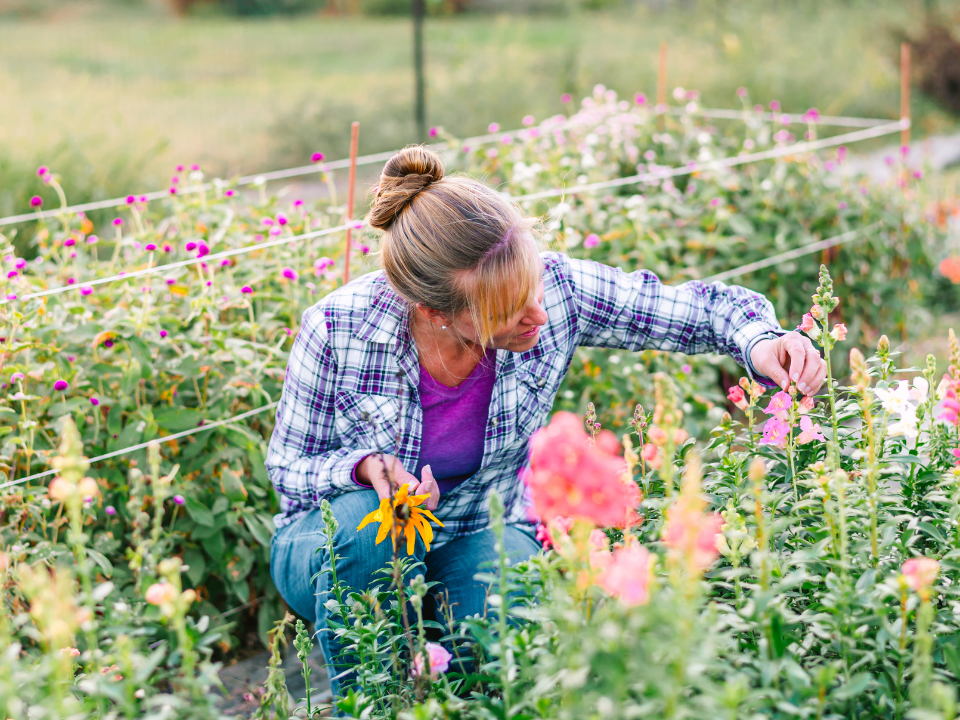
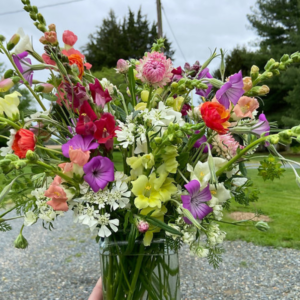
The guide features favorite cutting flowers like zinnias, cosmos, dahlias, sunflowers, snapdragons, sweet peas, celosia, Black-eyed Susans, larkspur, and more.
You do not have to figure it out alone. With Liza’s guidance, you can go from wondering where to start to harvesting armloads of beautiful blooms for your home, market bouquets, or seasonal arrangements.
Start growing better bouquets with the Top Cutting Flowers Guide. Instant access after purchase!